7.33.0 Sustainability - Product Repair Guide | FatFace UK

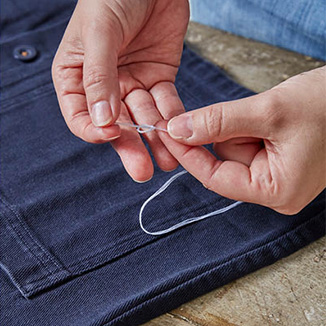
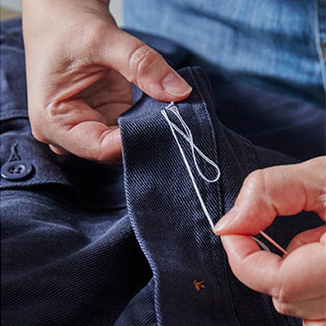
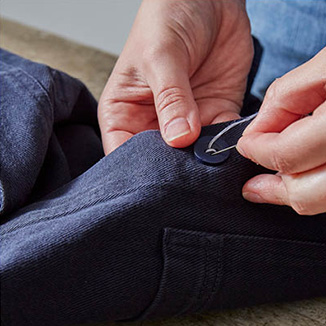
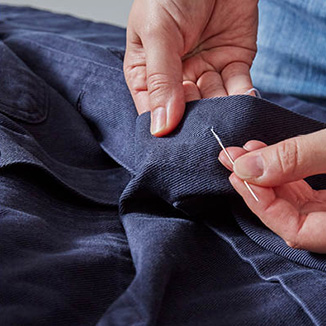
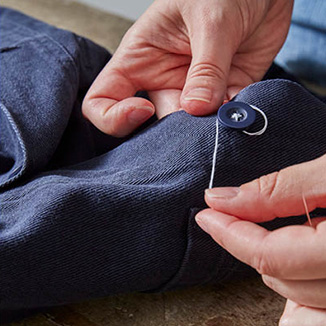
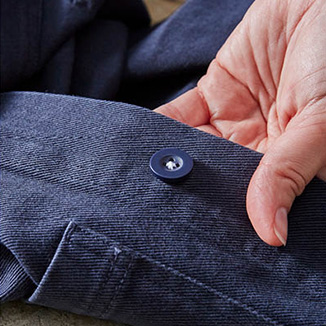
Sewing a button

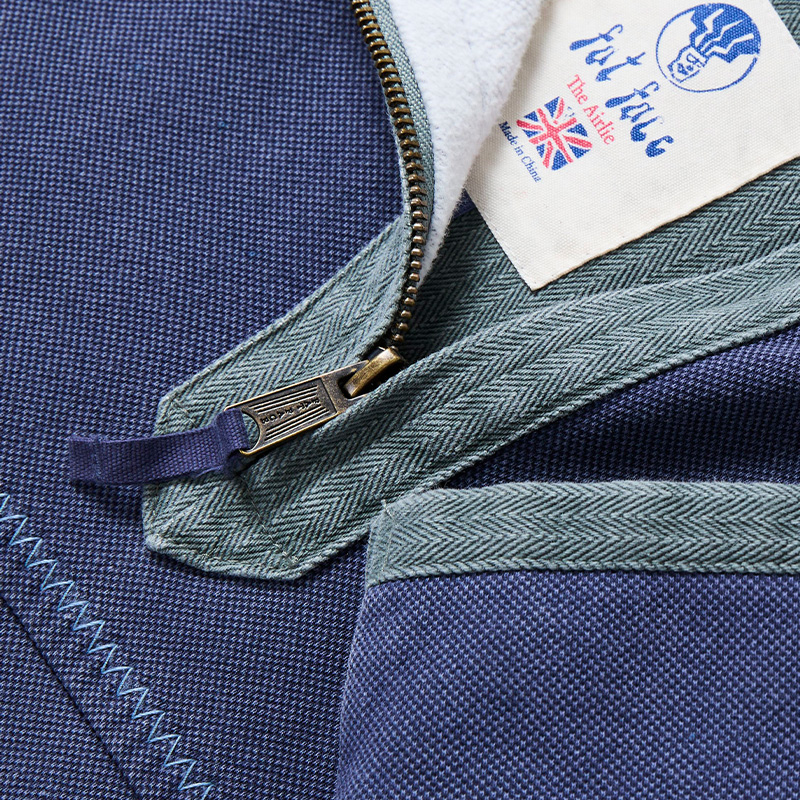
Fixing a zip

Don't throw out clothing because of a sticking zip.

Check for catches: Look for snags or folds of fabric that might be caught in the teeth.

Gently does it: Use tweezers to gently pull caught fabric away without tearing.

Pick up a pencil: Rub graphite from a pencil on both sides of the zip's teeth to help it glide.

Silky smooth: If it still sticks, apply soap or non-tinted lip balm directly to the zip for lubrication.

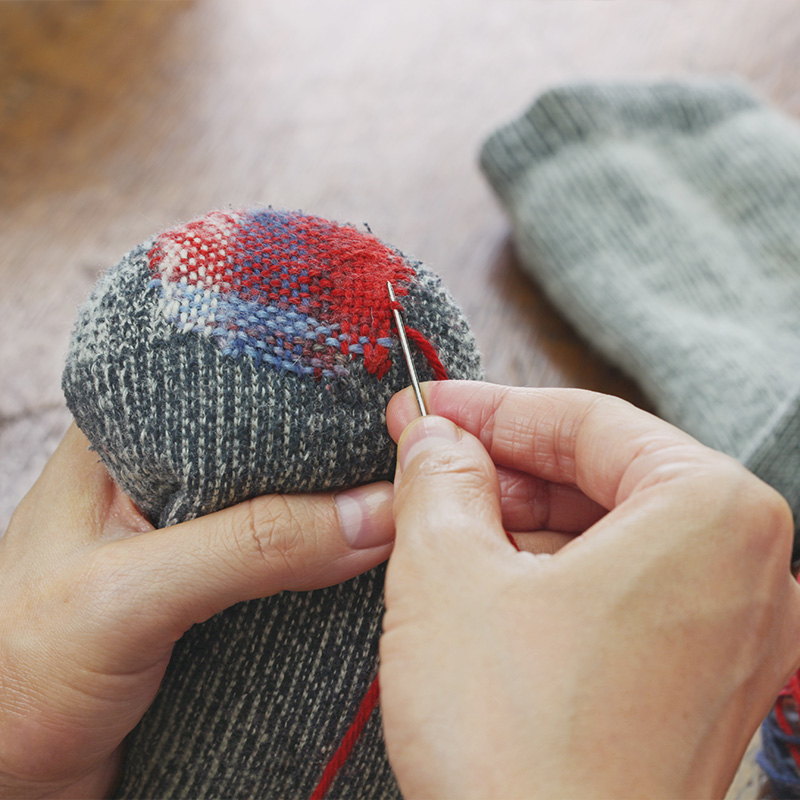
How to darn a hole

A small hole in a knitted jumper or a thinning pair of socks doesn't have to mean the end of the road. Darning is a traditional technique that weaves new thread into the fabric to create a strong, integrated patch.

You will need:
Darning mushroom: Provides a firm surface to pull the fabric over. You can substitute this with a smooth, rounded object like an old lightbulb or a ladle.
Darning yarn: Use a yarn of similar weight or slightly lighter than your garment.
Darning needle: These are long with a large eye and a sharp point to navigate knitwear fibres.

Step-by-step guide:
1. Prep the area: Work from the "wrong" side (the inside) of the garment. Tidy up any loose threads and pull the fabric over your darning mushroom.
2. Create the vertical foundation: Starting a little way outside the hole to anchor into strong fabric, pick up alternate "purl bumps" in a vertical column. Work your way up, then move to the next column, picking up the opposite bumps.
3. Bridge the gap: When you reach the hole, pick up any loose loops and span the needle across the gap, catching the fabric on the other side.
4. Weave the patch: Now work across the vertical threads horizontally. Weave your needle over and under the strands you've just created.
5. Manage tension: Always leave a small loop of thread at each turning point. This prevents the fabric from puckering and allows the repair to stretch with the garment.
6. The final finish: Once the hole is covered with a woven mesh, cut the thread, leaving a small tail. There’s no need for knots; with wash and wear, the new fibres will naturally integrate with the original fabric.

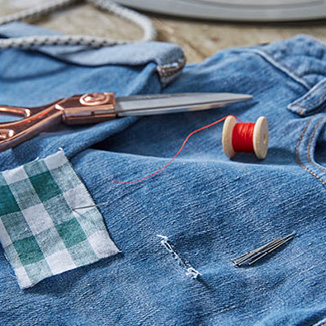
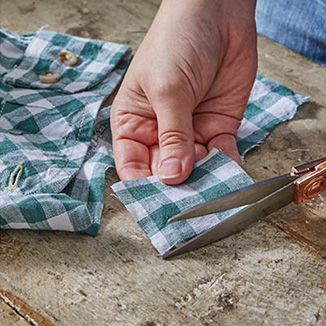
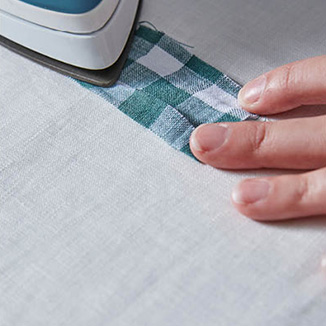
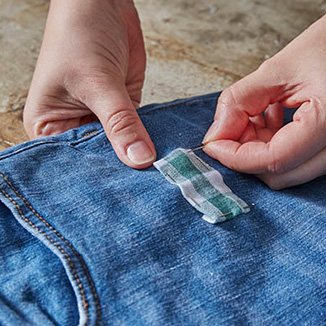
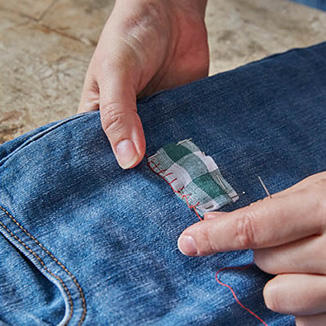
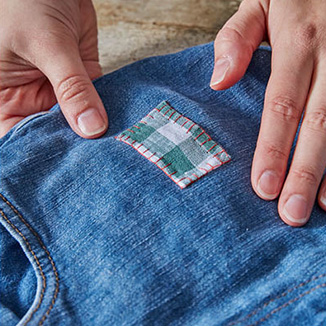
Patching jeans

Give your favourite jeans a new lease of life with a simple patch.

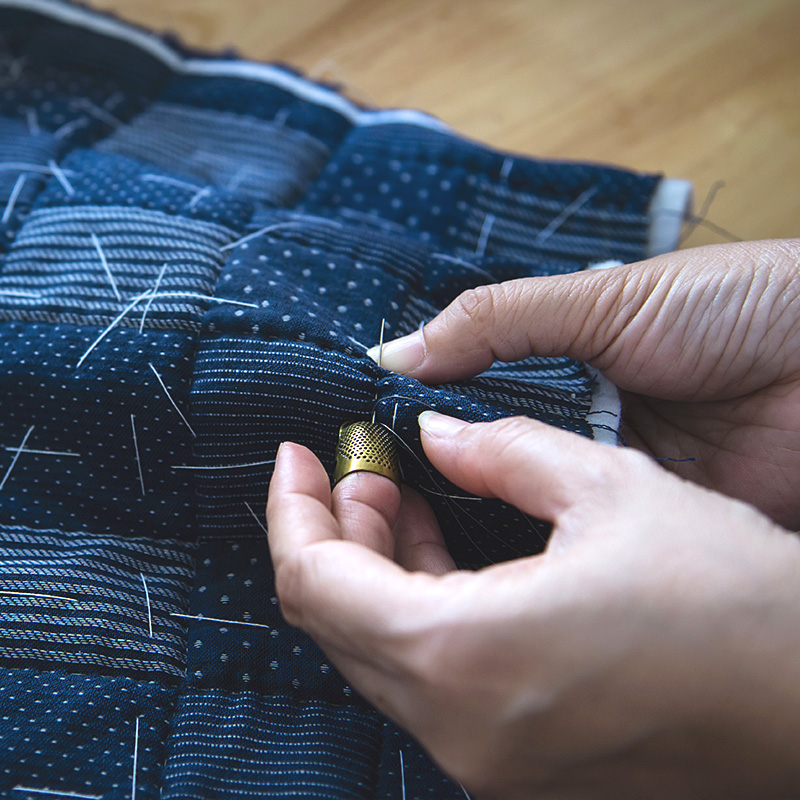
Stitching with flair: Sashiko

Sashiko is a traditional Japanese embroidery technique that uses a simple running stitch to create beautiful geometric patterns. It’s the perfect way to turn a repair into a feature, adding strength and personality to your well-loved clothes.

You will need:
A garment in need of repair.
Cotton fabric scraps for patching – something with a similar weight to your garment works best.
Sashiko thread or embroidery floss.
A long Sashiko needle with a large eye.
Chalk or a fabric pen for marking your design.
A thimble and pins.

A step-by-step guide:

1. Choose your pattern: Before you pick up your needle, decide on the style of pattern you’d like to create, as this will determine how you mark your fabric:

Moyōzashi (Pattern Sashiko): This style uses a continuous running stitch to create intricate, often curved or repeating designs. The stitches never cross each other, creating a clean, flowing appearance. Popular examples include the Seigaiha (wave) or Shippo-tsunagi (seven treasures) patterns.

Hitomezashi (One-stitch Sashiko): This is worked on a grid, where stitches are made in straight horizontal, vertical, and diagonal lines. The patterns emerge where the stitches meet or cross. It creates a much denser, more reinforced fabric, making it ideal for patching hard-wearing areas like the knees of jeans.

2. Prep your patch: Start by placing a piece of scrap fabric behind the hole or worn area. You can place the patch on the inside for a more subtle look, or on the outside if you want to make the repair a bold part of the design. Pin it securely in place.

3. Mark your design: Use a ruler and chalk to draw your chosen design onto the front of your garment. If you are opting for Hitomezashi, a basic 1cm grid is essential for keeping your stitches even. If you are trying Moyōzashi, you might prefer to trace a specific shape or repeating curve.

4. Loading the needle: Thread your needle with a long piece of Sashiko thread. Traditionally, no knots are used in Sashiko to keep the repair flat, but for beginners, a small knot on the inside of the garment is perfectly fine to get started.

5. The running stitch: Sashiko uses a simple "up and down" running stitch. Instead of pulling the thread through after every stitch, "load" several stitches onto your long needle at once, then pull the thread through in one go.

6. Perfecting the pattern: Try to keep your stitches consistent. A good rule of thumb is that the stitches on the top should be slightly longer than the gaps between them. When you reach a corner or a crossing point in your design, try to avoid having the stitches touch; leaving a small gap at the intersections keeps the pattern looking crisp.

7. Managing tension: This is the most important part – don’t pull your thread too tight, as this will cause the fabric to pucker. When you reach the end of a row and need to turn back, leave a tiny loop of thread on the underside. This allows the fabric to stretch and move naturally when you wear it.

8. Finishing off: Once your design is complete, weave the thread back through your last few stitches on the inside of the garment and tie a secure knot to finish.

Confirm Country Change

Are you sure you want to navigate away from this site?

If you navigate away from this site
you will lose your shopping bag and its contents.

Cancel

Recently Viewed

Loading...

There are no Recently Viewed items to show. Items will appear here as you view them. You can then select the images to revisit the items.

Oops' Something's gone wrong! Please try again